If you want to try something new this year then making candles might be something you find yourself interested in and with the holidays coming up now would be a great time to start.
Ideas for Decorating the Mason Jars
Part of what makes these Christmas candles so fun to gift is that you can get extra creative with how you decorate and wrap them. A few of our favorite ideas include:
- Dipping the jars in a coat of glitter (be careful – this gets messy, fast!)
- Wrapping the jars in a festive wide ribbon
- Hot gluing on a strip of burlap and a sprig of pine (my favorite!)
- Create labels and print them on sticker paper
Which Essential Oil Scents to Use
The fun thing about this DIY is you can easily swap out the oils and change the fragrance profile of this candle completely.
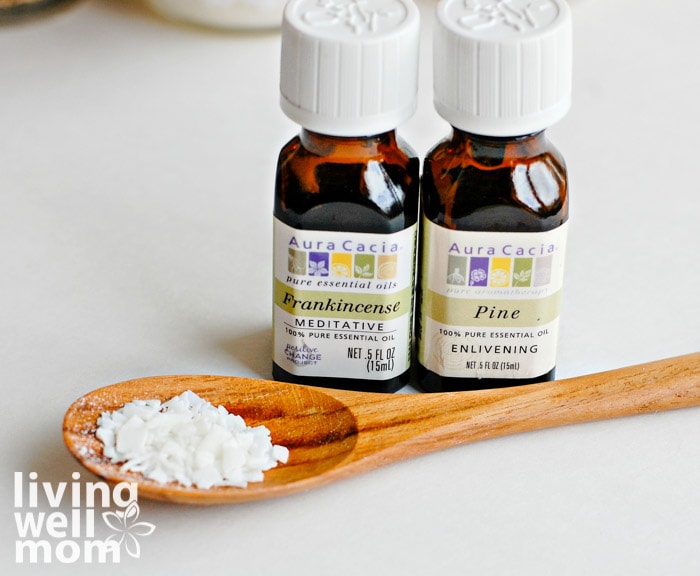
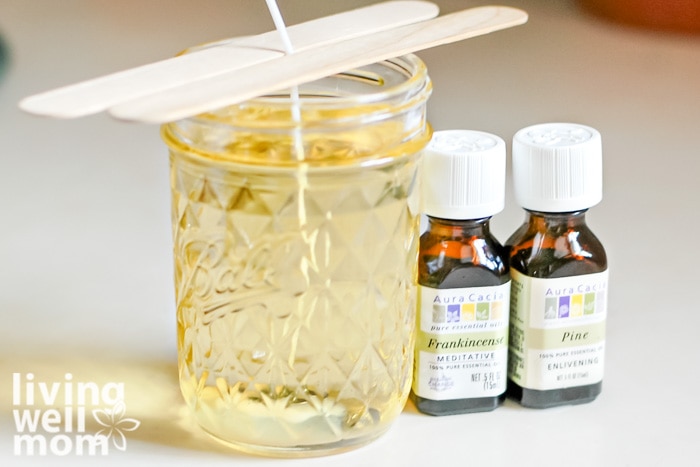
Pine and Frankincense
I chose pine and frankincense essential oils for these Christmas candles because they are just a lovely combination for this time of year. Plus when you smell the frankincense, it reminds us of the historical miracle that is the reason for the season! You can also use these:
- Pine Essential Oil
- Clove Bud Essential Oil
- Cinnamon Leaf Essential Oil
- Cedarwood Essential Oil


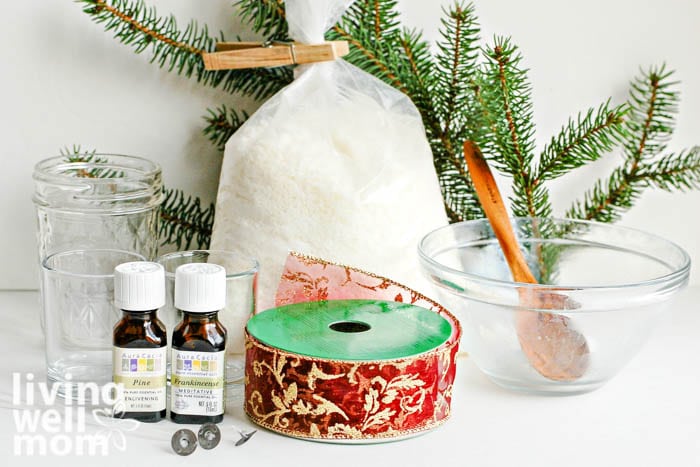
Supplies Needed:
- Soy Wax for candle making – I ordered this
- Natural Candle Wick
- Pine Essential Oil
- Frankincense Essential Oil
- popsicle sticks
- 8 oz glass jelly jars
or other small jars or glass votive candle holders*
- glass measuring cup
- decorative holiday or burlap ribbon (optional)


*You can make these DIY Christmas Candles in a variety of sizes, such as glass votive candle holders

Instructions
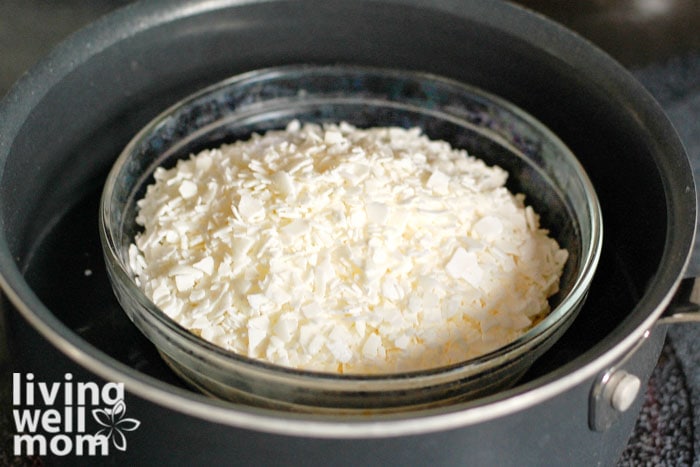
Melt Soy Wax
The first step in making these candles is to melt your soy wax in a double boiler. Start with 3 cups of soy wax pellets. This is enough for one 8oz mason jar and 2 votive candle holders.
You can simply put your glass measuring cup in the saucepan with a couple of inches of boiling water. I recommend a glass measuring cup because of the easy-to-pour spout. After using just a glass bowl myself, I wish I had the spout!
Add Oils
While the wax is heating up and melting, you can add the essential oils to the wax. I recommend at least 30 of each pine and frankincense essential oil for the 3 cups of wax.
If you want a very potent smelling candle, then up your oil amount to 45 drops of each! With 30 drops, the aroma is subtle and not overbearing. It was not as strong as a Yankee Candle smell would be and some may say it was just a little too weak.
So play around with the amount of oil you use depending on your scent strength preference.
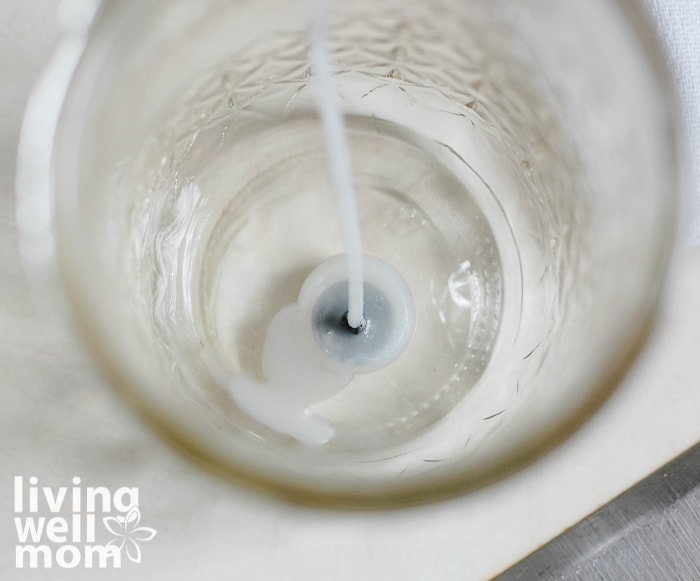
Add Wick
When the wax is melted in the double boiler, take a plastic spoon and drip just a little bit of wax at the bottom of your glass containers. While that bit of wax is still liquefied, quickly “glue” in your wick.
Hold the wick in place until the wax is cool and hardened. If you do this step first, it will help hold the wick in place and keep it in the center when you fill up the rest of the jar with hot wax.
Pour in the Scented Wax
Pour in the melted and scented wax to fill your jar. I use 2 popsicle sticks to keep the wick in place while the wax is cooling and hardening. You could also keep it in place by very carefully wrapping the wick around a pen that’s laid across.
Let Harden
It will take a good 45 minutes or so for the wax to cool and harden. Keep your jar in an area that will not get bumped while it is cooling. You can stick this in the refrigerator to speed up the cooling process.
Trim the Wick
Once your candle is back to a solid state, go ahead and trim the wick.
No comments:
Post a Comment