
TOTAL TIME: 15 minutes
DIFFICULTY: Easy
ESTIMATED COST: $3
Materials:
Leather or fabric
Scarf or cloth headband, preferably with wire inside
Thin belt
Large circular object to trace around
Tools:
Pen
Hot glue and glue gun
Scissors
Instructions:
Hot glue and glue gun
Scissors
Instructions:
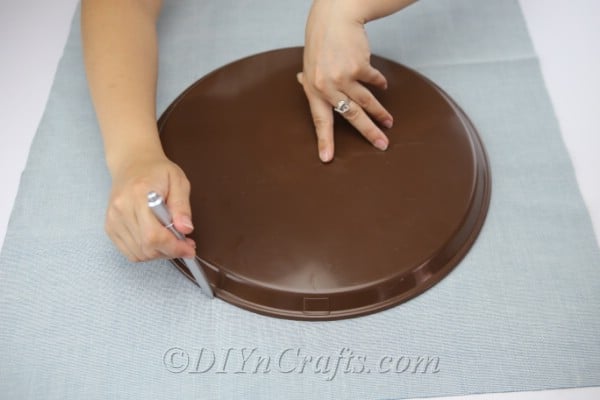
Your first step is to lay your fabric out flat and place the large circular object you have selected on top of it. Use a pen to trace around the perimeter of the circular item so that you have a circle on your fabric.
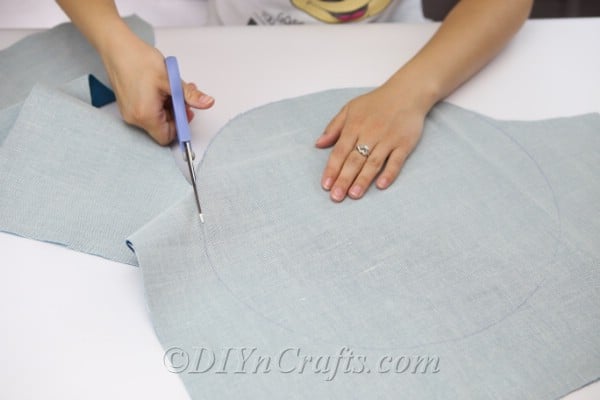
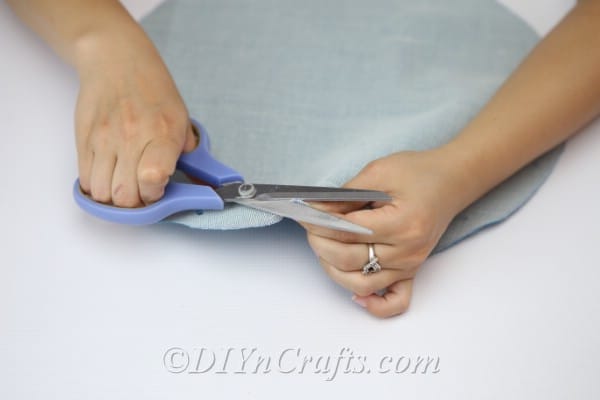
Use your pair of scissors to cut out the circle from the fabric.
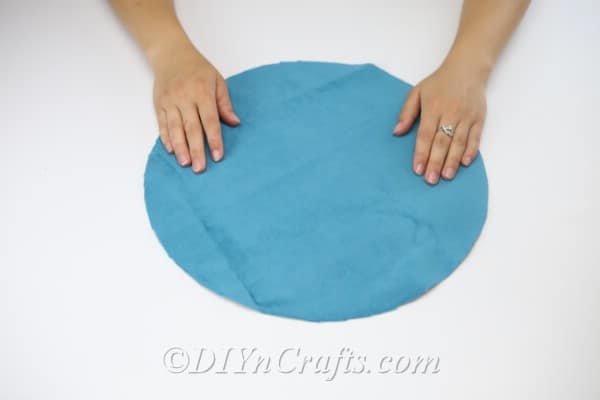
Lay the circle of fabric out flat in front of you with the side you want to be on the outside of the handbag facing upward. For me, this is the blue side, so that is how I will refer to it from here on out, with the other side being the white side.
Use your pair of scissors to cut out the circle from the fabric.
Lay the circle of fabric out flat in front of you with the side you want to be on the outside of the handbag facing upward. For me, this is the blue side, so that is how I will refer to it from here on out, with the other side being the white side.
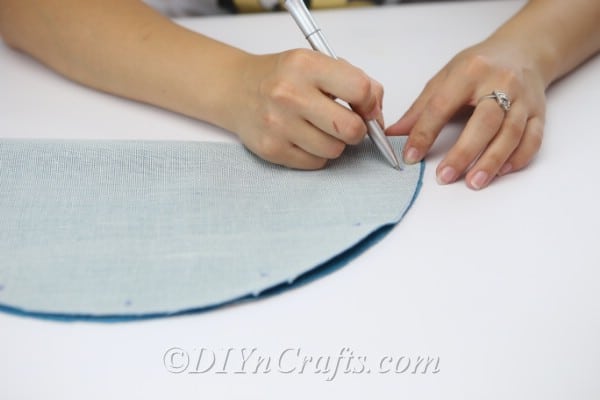
Fold the circle in half. The white side will now be facing outward.
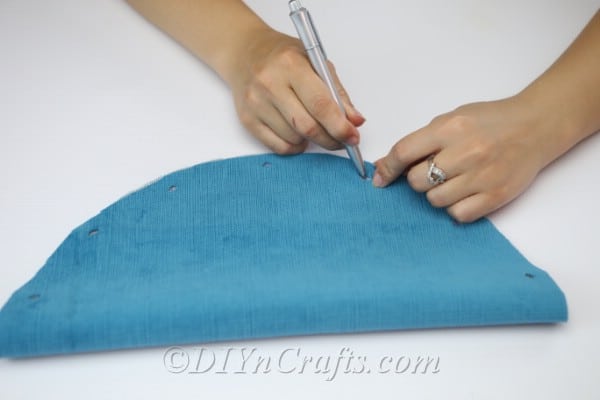
Using a pen, mark some equidistant spots along the perimeter of the semi-circle. Note that these should only go along the curved edge. They should not be on the very edge. They should be positioned inward a little bit, maybe a few centimeters or so.
Use a pair of scissors (or a hole puncher, if you have one!) to cut out little holes where you placed your marks.
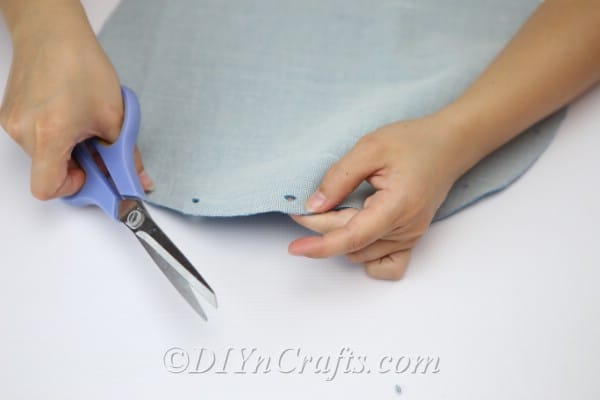
Now, you're going to fold the circle in half again, but you are going to do it the other way around so that the blue side is facing outward.
Use your pen to mark through the holes that you cut. This will make a second matching set of marks on the other half of the circle where you did not create them before. Because you put the blue side on the outside this time, when you marked through the holes, you only marked the white side of the fabric. You will probably cut around the marks completely, but just in case you don't, this way you know that they are hidden.
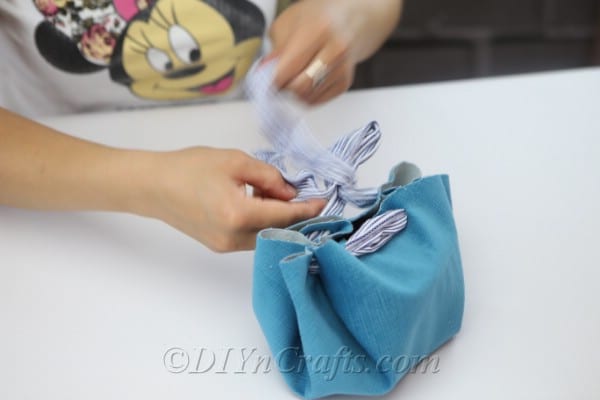
Take the scarf or cloth headband, and weave it through the holes back and forth around the entire perimeter of the circle. Technically, these are stitches, but since we are not using needle and thread and sewing in the traditional sense, I still consider it to be a no-sew project.
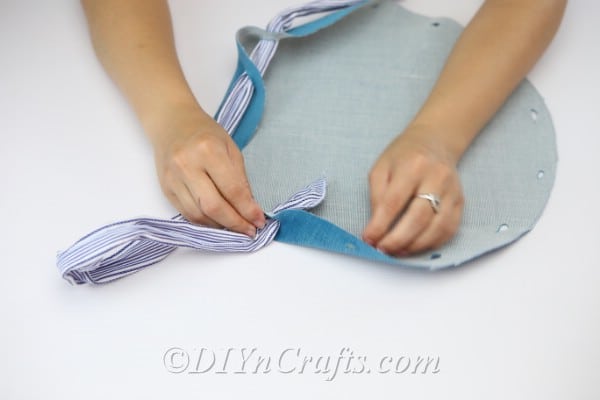
When you have pulled the scarf through all of the holes, the two ends should emerge on the outside (blue side) of the fabric. You can then tug on them gently, and they should work like a drawstring, closing the bag. It is magical to see a flat circle suddenly transform into a usable handbag!
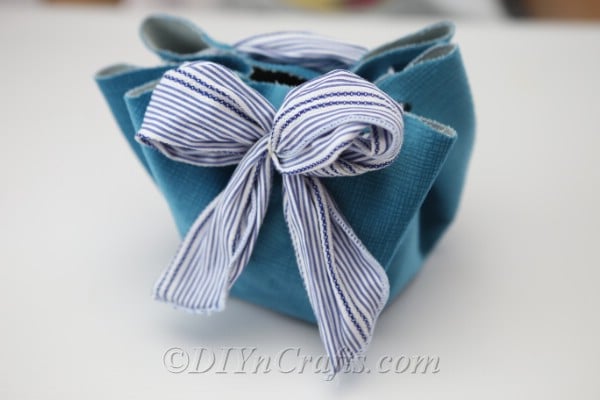
You can tie the two ends of the ribbon into a cute bow to finish off the look of your bag. You can, of course, untie this bow if you need to get the bag wide open in the future, or pull it more tightly closed and retie it if necessary.
Use your pen to mark through the holes that you cut. This will make a second matching set of marks on the other half of the circle where you did not create them before. Because you put the blue side on the outside this time, when you marked through the holes, you only marked the white side of the fabric. You will probably cut around the marks completely, but just in case you don't, this way you know that they are hidden.
Take the scarf or cloth headband, and weave it through the holes back and forth around the entire perimeter of the circle. Technically, these are stitches, but since we are not using needle and thread and sewing in the traditional sense, I still consider it to be a no-sew project.
When you have pulled the scarf through all of the holes, the two ends should emerge on the outside (blue side) of the fabric. You can then tug on them gently, and they should work like a drawstring, closing the bag. It is magical to see a flat circle suddenly transform into a usable handbag!
You can tie the two ends of the ribbon into a cute bow to finish off the look of your bag. You can, of course, untie this bow if you need to get the bag wide open in the future, or pull it more tightly closed and retie it if necessary.
No comments:
Post a Comment