Showing posts with label gift. Show all posts

Wednesday, December 23, 2020

DIY Mens Apron

  Every year I have the hardest time coming up with gifts for guys. My husband and Dad are so hard to shop for. They never tell me what they want and I always have the hardest time coming up with something.

To get started you’ll need an apron… I found this one at Jo-Ann’s!
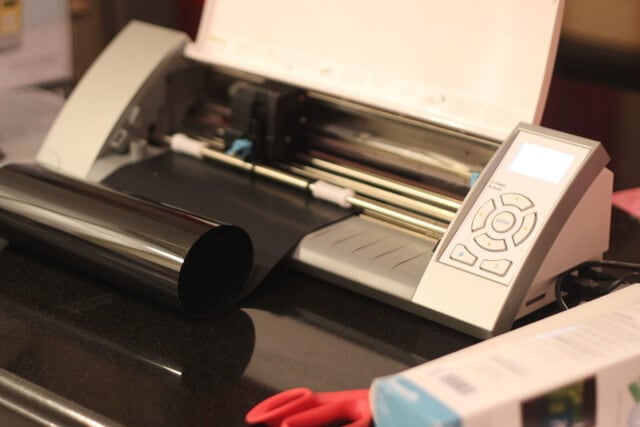
Then I pulled out my Silhouette and cut out “CAUTION: EXTREMELY HOT” with heat transfer. If you will be doing this with your Silhouette make sure to mirror your image horizontally before cutting.

If you don’t have a Silhouette you can easily use  freezer paper or stencils for this as well. They sell packs of stencil letters at most craft stores. Just lay the letters down and brush over them with fabric paint.
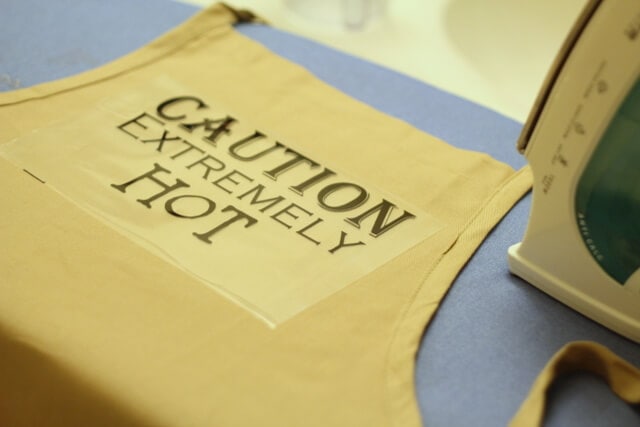
Once I printed out my heat transfer I stuck it on the apron and ironed it on. Make sure to put a piece of fabric over the applique before ironing so it doesn’t melt. With the Silhouette heat transfer you’ll have to hold it for about 45 seconds. Just peel up a little edge to make sure it has stuck. Once the heat transfer has fully adhered you can peel away the top layer.


That’s all! Simple as that! Such an easy gift, and perfect if your husband loves to grill! 

Tuesday, December 1, 2020

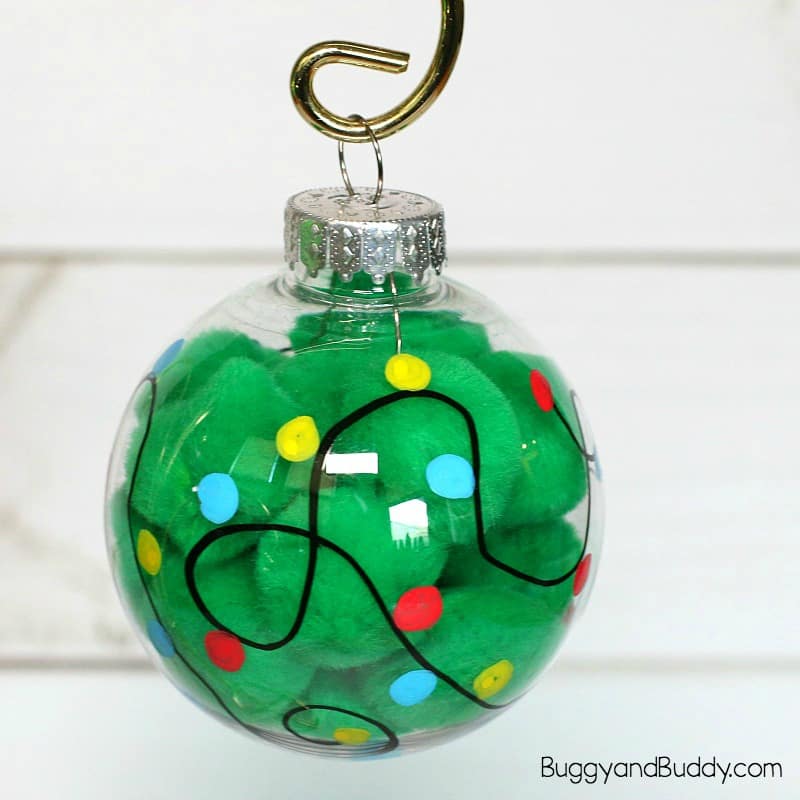
Christmas Light Ornament Craft


 christmas ornament kid crafts - arts and crafts activities - amorecraftylife.com #kidscraft #craftsforkids #christmas #preschool


Materials for Christmas Light Ornament:


  • Clear, plastic bulb ornaments (It might also be fun to try out plastic ornaments that snap together.)
  • Green pom poms
  • Oil-based markers in various colors (We bought some similar to these at our local craft store.)


Christmas Light Ornament Craft for Kids Using pom poms

Directions for Christmas Light Ornament:


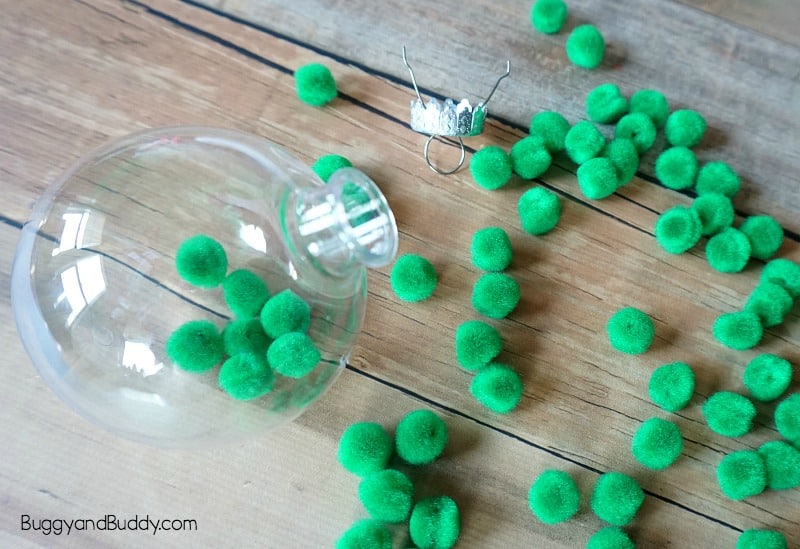
1. Remove the top of your clear plastic bulb and fill it green pom poms until it is full. (Great fine motor practice for little ones!) Place the top back on the ornament.


Christmas Light Ornament Craft for Kids Using pom poms


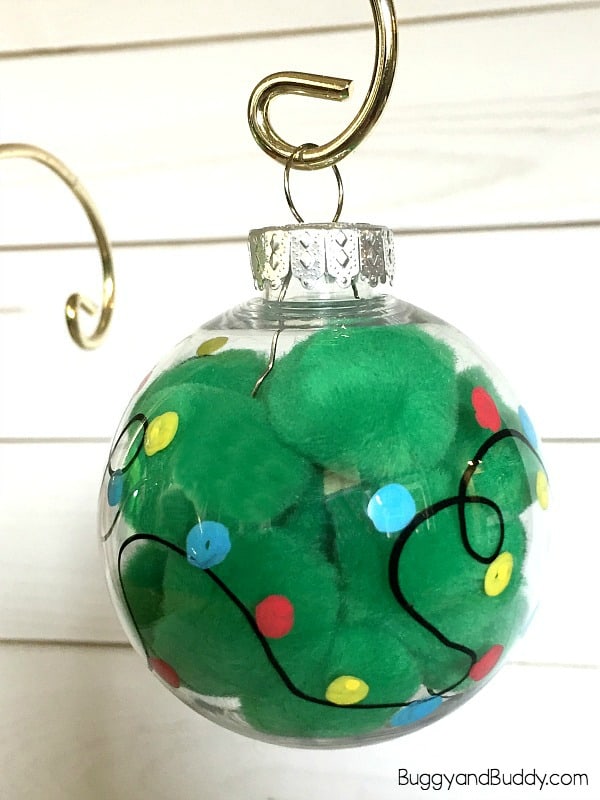
2. Use your black oil-based marker to draw a curvy line all around your ornament. Then use your colored oil-based markers to add colorful lights around the black line. Let it dry.


Christmas Light Ornament Craft for Kids Using pom poms


3. Hang it on your tree to enjoy. We left ours as is, but you could also tie a festive Christmas bow around the top!

Monday, November 30, 2020

Mini Clothes Pin Wreathe

 These little wreathes are just the cutest things ever!!!!!!!!!

Homemade Kid Christmas Ornament

Supplies:

  •  Wooden Mini Clothespins (Green) 
  • Fiberboard (I used a fruit snacks box)
  • Green paint
  • Red Ribbon
  • Glitter (optional)
  • Scissors
  • Glue Gun

Instructions:

1. I used the lid from my Starbucks to trace the wreath on a piece of fiberboard.  I cut out the traced circle and placed a few of the clothespins onto the circle and traced the inside circle.  I took the clothespins off and cut out the center of the wreath.

homemade Kid Christmas ornament


2. Have your child paint the piece of fiberboard (your wreath) green and allow to dry.

3. If you need to paint and/or glitter your clothespins, do that now.  Once your clothespins are ready, have your child place them around the wreath. 
 
4. Cut a piece of ribbon for the bow and hook to attach the ornament to the tree.  Use a glue gun to attack the bow to the front of the wreath.  Make a loop from the other piece of ribbon and attach to the back of the wreath for a hook.  


Homemade Kid Christmas Ornament