Thursday, December 3, 2020

Cute No-Sew Handbag

Did you know you can make a beautiful handbag without sewing a single stitch? Find out how to make a no-sew handbag now in a few easy steps.


TOTAL TIME: 15 minutes
DIFFICULTY: Easy
ESTIMATED COST: $3


Materials:

Leather or fabric
Scarf or cloth headband, preferably with wire inside
Thin belt
Large circular object to trace around

Tools:

Pen
Hot glue and glue gun
Scissors

Instructions:

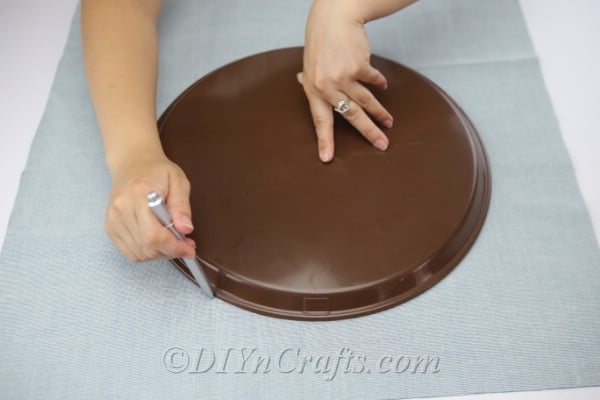
Your first step is to lay your fabric out flat and place the large circular object you have selected on top of it. Use a pen to trace around the perimeter of the circular item so that you have a circle on your fabric.

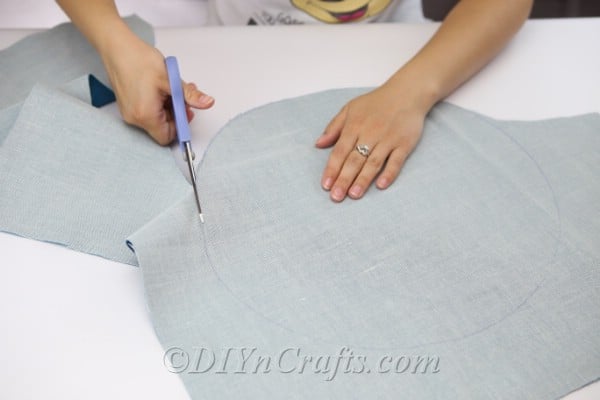
Use your pair of scissors to cut out the circle from the fabric.

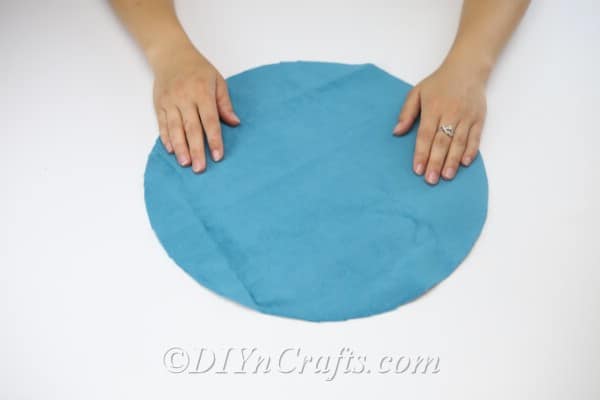
Lay the circle of fabric out flat in front of you with the side you want to be on the outside of the handbag facing upward. For me, this is the blue side, so that is how I will refer to it from here on out, with the other side being the white side.
Fold the circle in half. The white side will now be facing outward.
Using a pen, mark some equidistant spots along the perimeter of the semi-circle. Note that these should only go along the curved edge. They should not be on the very edge. They should be positioned inward a little bit, maybe a few centimeters or so.
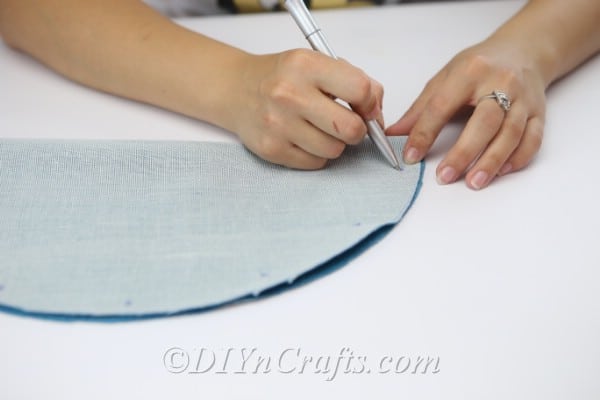

Use a pair of scissors (or a hole puncher, if you have one!) to cut out little holes where you placed your marks.
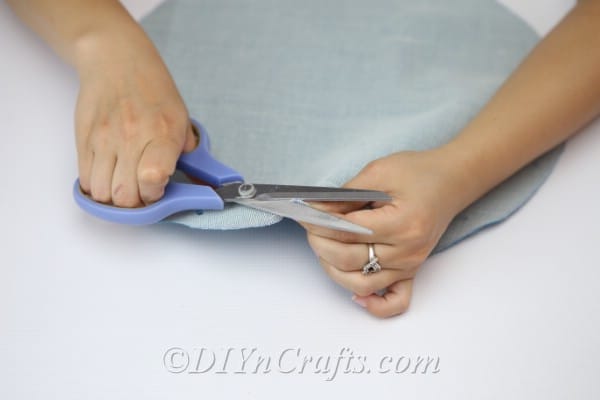
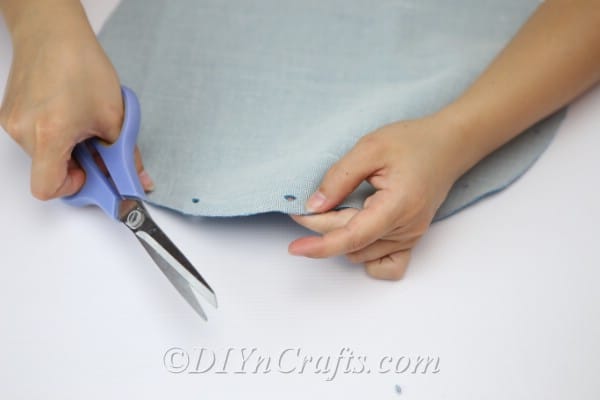
Now, you're going to fold the circle in half again, but you are going to do it the other way around so that the blue side is facing outward.
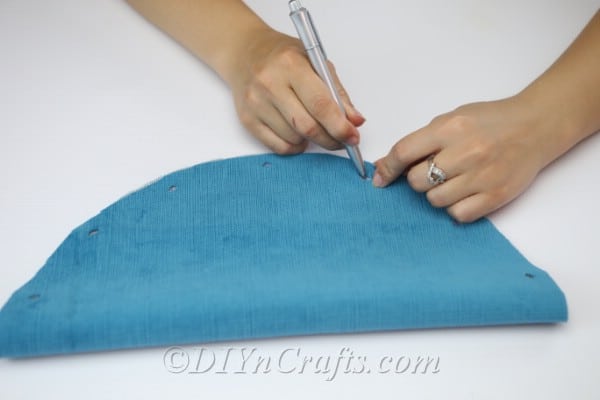
Use your pen to mark through the holes that you cut. This will make a second matching set of marks on the other half of the circle where you did not create them before. Because you put the blue side on the outside this time, when you marked through the holes, you only marked the white side of the fabric. You will probably cut around the marks completely, but just in case you don't, this way you know that they are hidden.

Take the scarf or cloth headband, and weave it through the holes back and forth around the entire perimeter of the circle. Technically, these are stitches, but since we are not using needle and thread and sewing in the traditional sense, I still consider it to be a no-sew project.
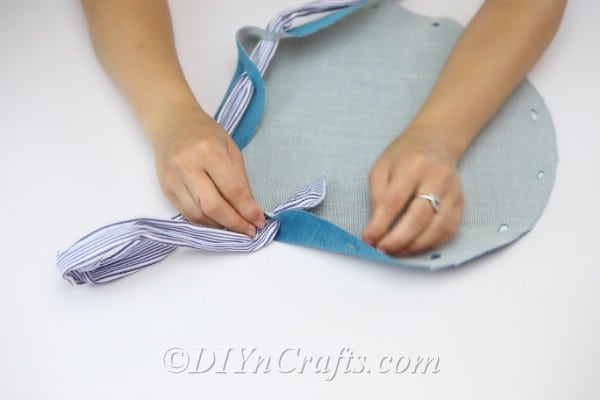

When you have pulled the scarf through all of the holes, the two ends should emerge on the outside (blue side) of the fabric. You can then tug on them gently, and they should work like a drawstring, closing the bag. It is magical to see a flat circle suddenly transform into a usable handbag!
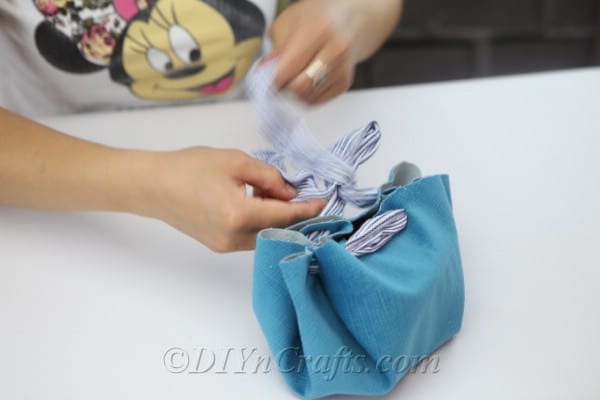

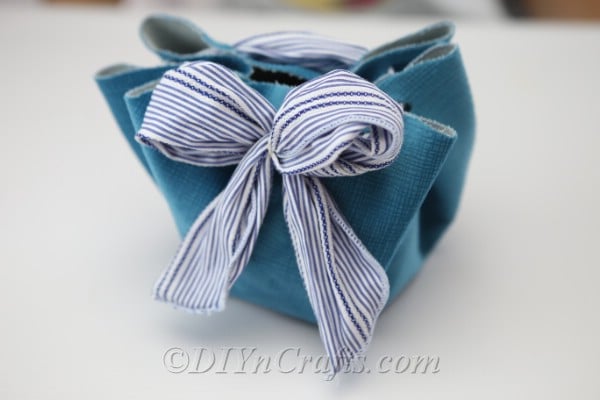
You can tie the two ends of the ribbon into a cute bow to finish off the look of your bag. You can, of course, untie this bow if you need to get the bag wide open in the future, or pull it more tightly closed and retie it if necessary.
DIY Christmas Cards

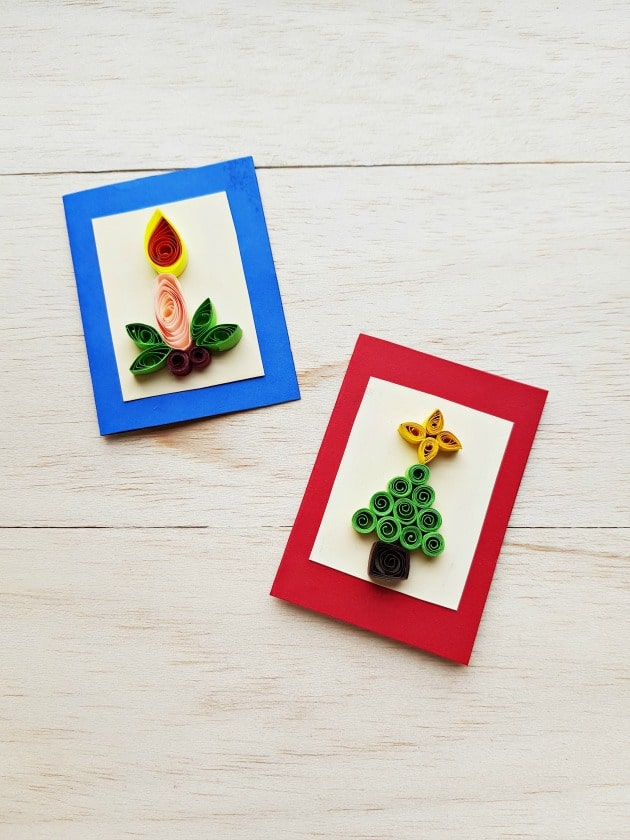
 If you want to do you own christmas cards this year then here is a simple way for you to do that! And you can personalize them any way you like!


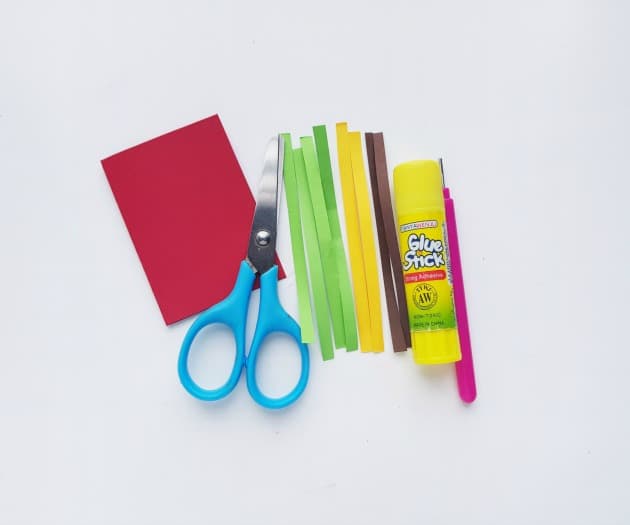
DIY CHRISTMAS CARDS SUPPLIES:

  • Paper quilling strips
  • Slotted quilling tool
  • Cardstock paper
  • Scissors
  • Craft glue

Supplies

DIY CHRISTMAS CARDS INSTRUCTIONS

Step -1:

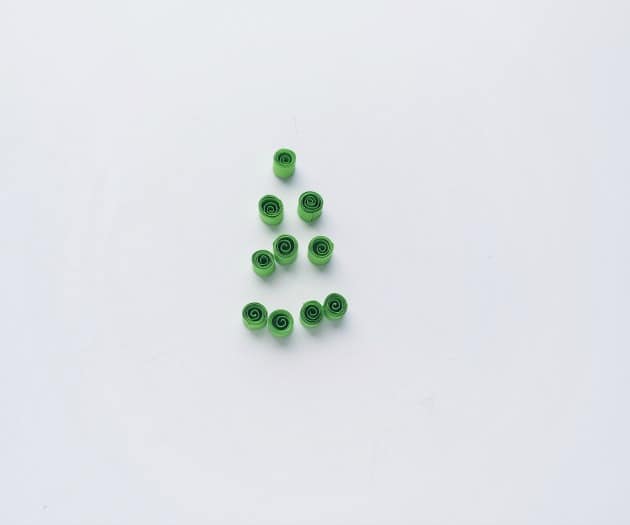
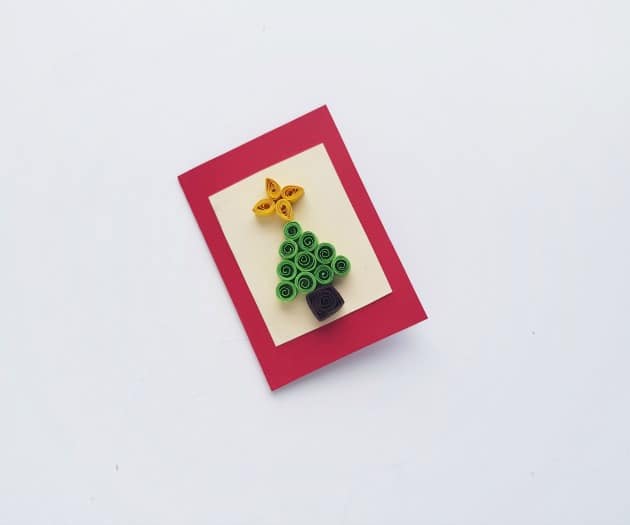
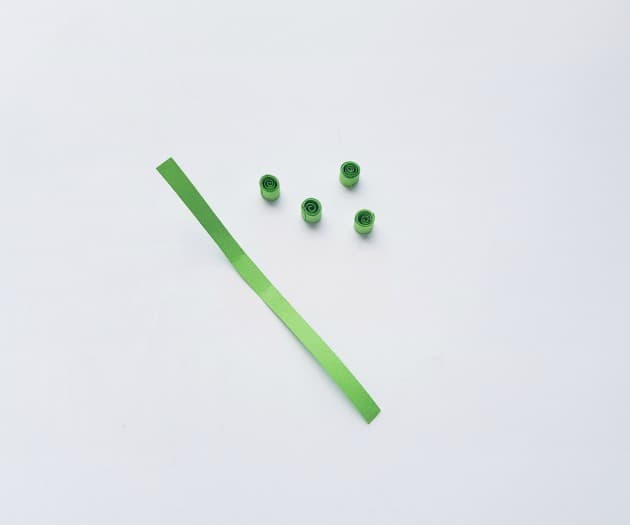
To start, you can sketch a simple outline for the quilled patterns. To make the quilled Christmas tree I’m using 10 loose coils, 4 teardrop shapes, and 1 square shape.

Select green colored quilling strips and prepare them all into the same size. Use the green strips to make loose coils.

Green colored quilling strips

Step -2:

Try to keep the size of the green loose coils as even as possible.

DIY Christmas Cards

Step – 3:

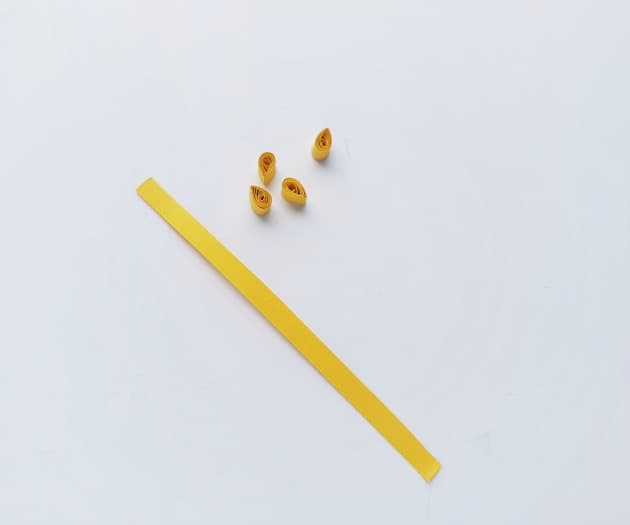
Grab 4 yellow colored strips for the star. Or you can also select any colored strip as you want. Use the yellow strips to make teardrop shapes.

Yellow colored strips

Step – 4:

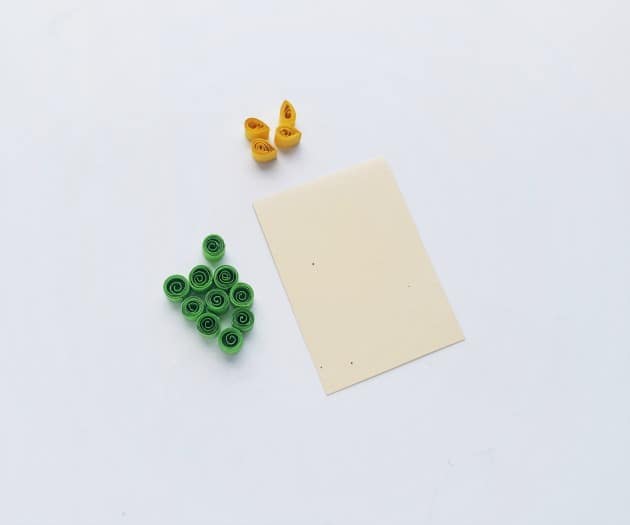
Done making the teardrops? Prepare a piece of cardstock paper into any size you want but make sure that the quilled art would fit nicely on it. Your Christmas cards will look amazing!

DIY Christmas Cards

Step – 5:

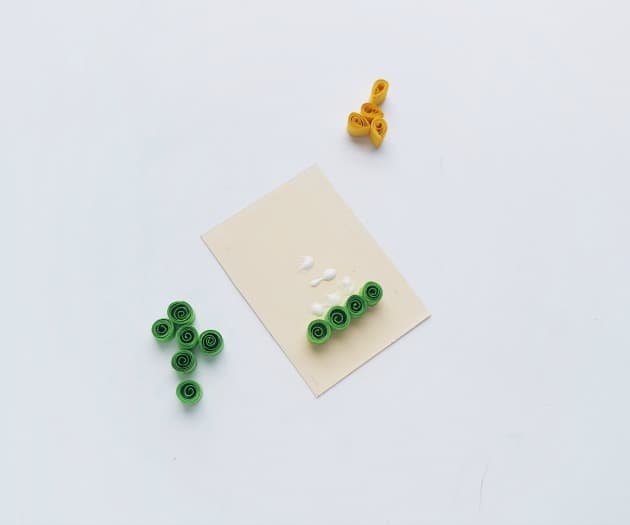
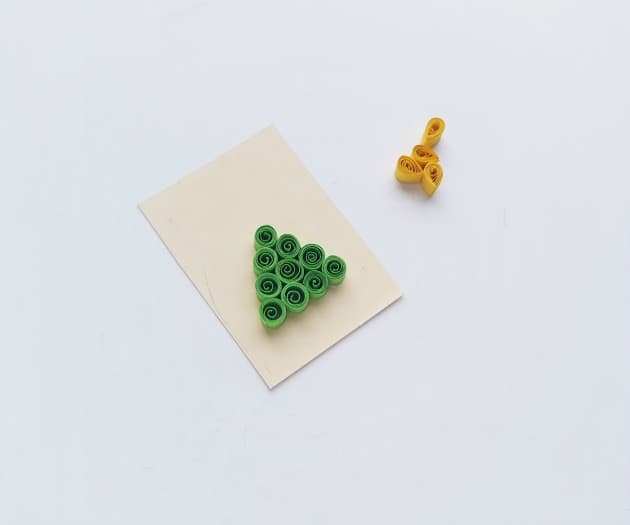
You can either apply glue on the cardstock paper or apply glue on the backside of the quilled pieces. To create the tree pattern I’m attaching 4 loose coils on a row near the bottom side of the cardstock paper.

DIY Christmas Cards

Step – 6:

And then I’ve attached 3 loose coils to the next row on the top of the bottom one. For the third row, I’m using 2 loose coils and then finally 1 loose coil on the top.

DIY Christmas Cards

Step – 7:

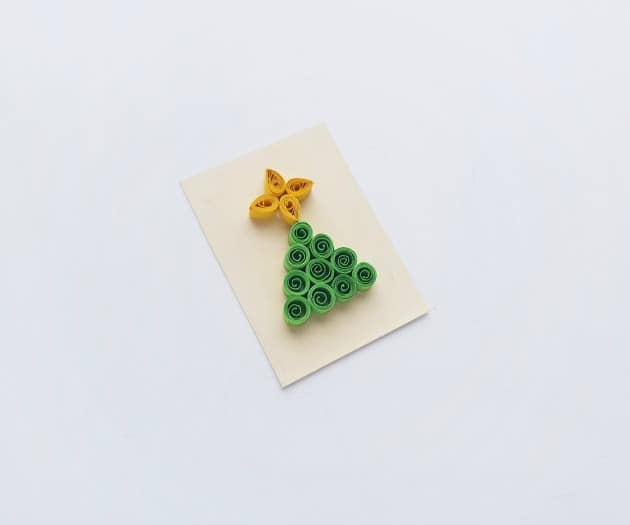
Attach the 4 teardrops on the top end of the quilled tree. Use the 4 teardrops to form a 4 point star.

DIY Christmas Cards

Step – 8:

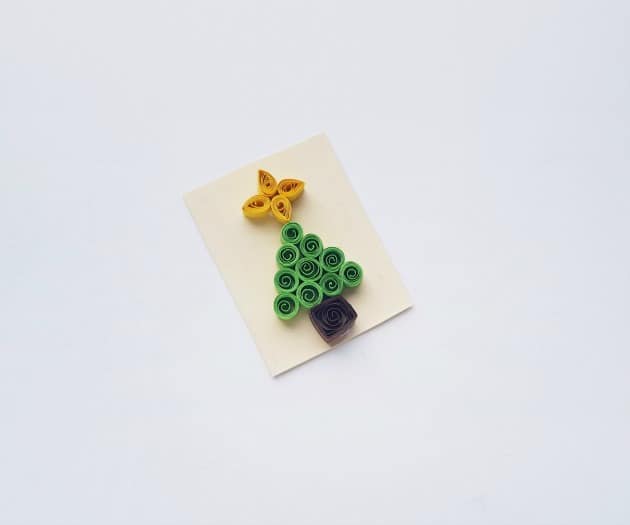
And lastly, prepare a square quilled piece from a brown colored quilling strip and attach it on the bottom side of the quilled tree.

DIY Christmas Cards

Step – 9:

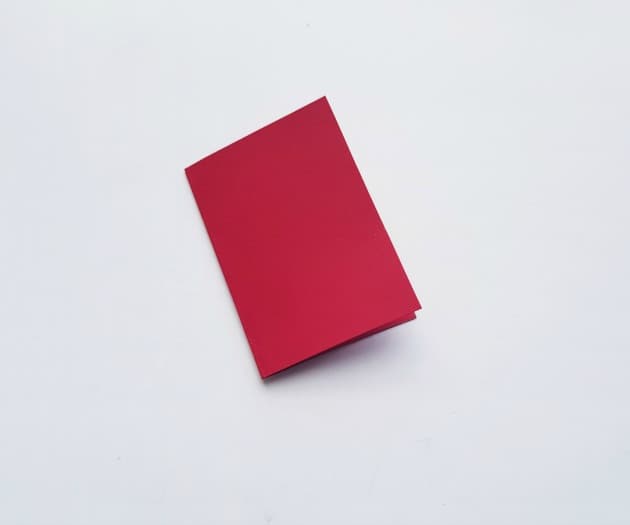
Select a colored cardstock paper of your choice and prepare a Christmas card from it. The card should be at least a cm bigger on all sides from the quilled art cardstock paper.

DIY Christmas Cards

Step – 10:

Attach the quilled art cardstock on the front side of the card. Allow the glue to dry.

DIY Christmas Cards

You can also create more simple quilled patterns and make other Christmas cards with them.

DIY Christmas Cards
I HOPE YOU ENJOY MAKING THESE CARDS THIS YEAR!

Wednesday, December 2, 2020

How To Delete An Instagram Account


To request the permanent deletion of your account:


1. Before deleting your account, you may want to log in and download a copy of your information (like your photos and posts) from Instagram. 

2. After your account has been deleted, you will not have access to Instagram’s Data Download tool.

3. Go to the Delete Your Account page from a mobile browser or computer. If you're not logged into Instagram on the web, you'll be asked to log in first. You can't delete your account from within the Instagram app.

4. Select an option from the dropdown menu next to Why are you deleting your account? and re-enter your password. The option to permanently delete your account will only appear after you've selected a reason from the menu.

5. Click or tap Permanently delete my account.


If you'd like to delete a different account:

1. Click or tap the username in the top-right of the Delete Your Account page.

2. Click or tap next to the Edit Profile and select Log Out.

3. Log back in as the account you want to delete and follow the directions above.

How To Temporarily Disable Instagram


If you temporarily disable your account, your profile, photos, comments and likes will be hidden until you reactivate it by logging back in. You can only disable your Instagram account from a computer or mobile browser.

To temporarily disable your account:

Instagram.com from a computer:
1. Log into instagram.com from a computer. You can't temporarily disable your account from within the Instagram app.

2.Click your profile picture in the top right and click Profile, then click Edit Profile.

3. Scroll down, then click Temporarily disable my account in the bottom right.

4. Select an option from the drop-down menu next to Why are you disabling your account? and re-enter your password. The option to disable your account will only appear after you've selected a reason from the menu and entered your password.

5. Click Temporarily Disable Account.


Kitchen Mesurements

Everyone at some point in time forgets the measurements. So in the interest of saving someone a headache I decided to post a chart that should help.


And there you have it! Right at your finger tips if you need it!

How To Screen Shot On Mac

Does anyone else have a problem with not knowing how to do things on a mac? I know I do! So I thought I would give my readers a step by step guide on how to do certain things. In this post I will be telling my readers how to screen shot on a mac computer.


                                   IT CAN BE DONE!

There are ways to take a screenshot on a Mac, and all of them can be done with easy keyboard shortcuts.

1. If you press Shift + Command + 5 on your Mac's keyboard, you'll open the screenshot menu, which lets you take screenshots and videos, as well as customize your settings.

2. Pressing Shift + Command + 4 will let you take a quick screenshot anywhere on your screen. 

3. Shift + Command + 3 will capture the entire screen at once.

4. If you have a MacBook with a Touch Bar, you can use Shift + Command + 6 to take a screenshot of the Touch Bar.
And thats it! It's just that simple. I hope this post will help some of my readers out!


Merry Christmas


Senses and Feelings Printable


Washi Tape Christmas Card

 This Christmas tree craft is easy for kids to do as well as fun!!!! 


Materials:

  • Christmas Washi Tape
  • Star Sequins  or Gold & Silver Star Stickers
  • Glue Sticks
  • Blank Cards & Envelopes – White
  • Cardboard

Easy kid made Christmas cards. These homemade washi tape Christmas cards are perfect for children to make and they look amazing.

This is a great activity as it is low mess, but also one that kids of most ages can do themselves. I have started to pout all that the boys need out in a plastic dip tray as in invitation to create.  It looks great, keeps everything they need together and allows for their creativity to take over.

This really is a super simple activity and the brilliance of traditional washi tape is that it is paper and so can be torn easily.  We also had some plastic coated tape so the boys cut that to size.


Tuesday, December 1, 2020

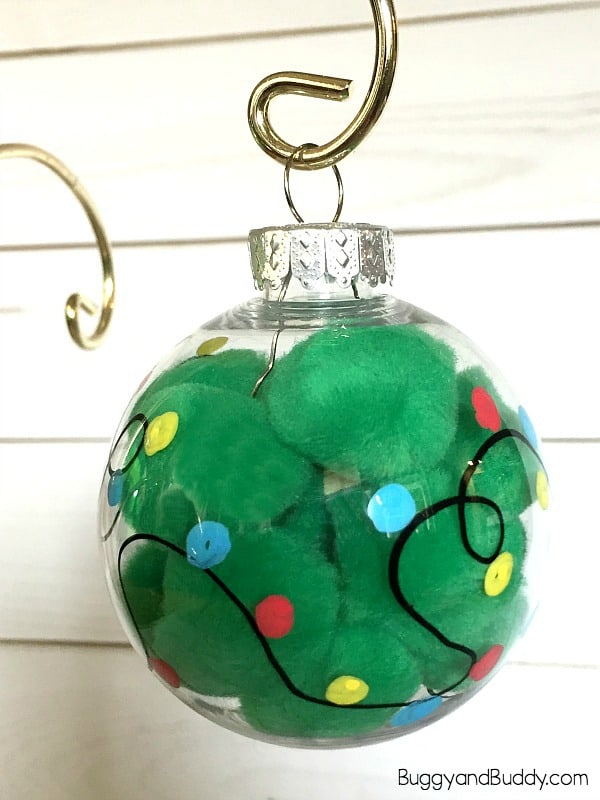
Christmas Light Ornament Craft


 christmas ornament kid crafts - arts and crafts activities - amorecraftylife.com #kidscraft #craftsforkids #christmas #preschool


Materials for Christmas Light Ornament:


  • Clear, plastic bulb ornaments (It might also be fun to try out plastic ornaments that snap together.)
  • Green pom poms
  • Oil-based markers in various colors (We bought some similar to these at our local craft store.)


Christmas Light Ornament Craft for Kids Using pom poms

Directions for Christmas Light Ornament:


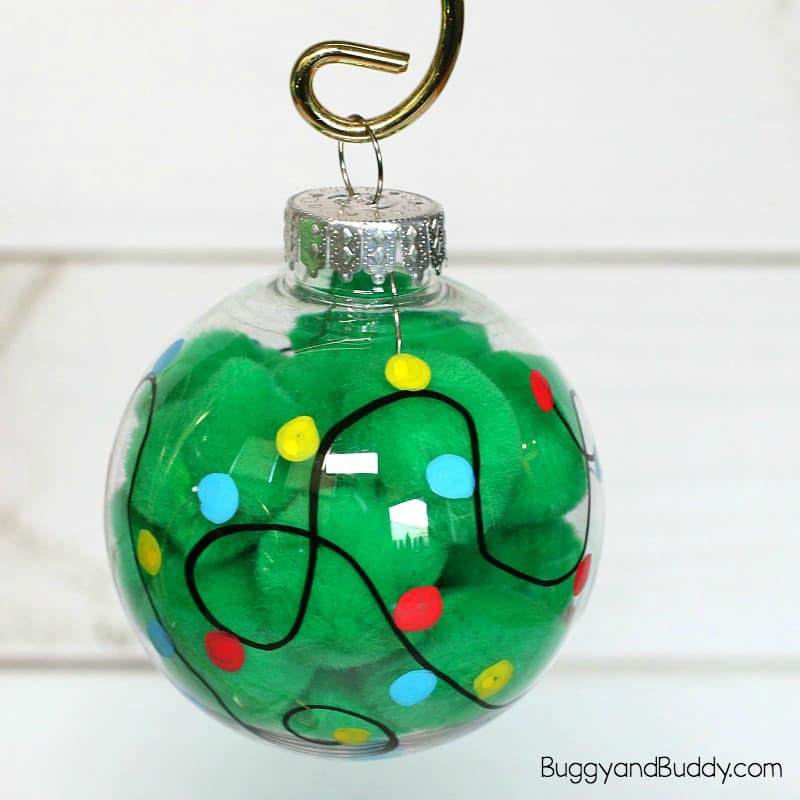
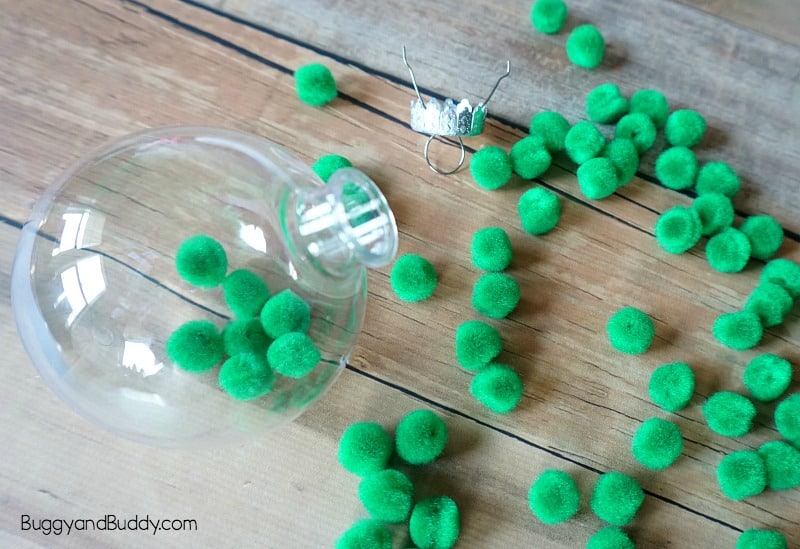
1. Remove the top of your clear plastic bulb and fill it green pom poms until it is full. (Great fine motor practice for little ones!) Place the top back on the ornament.


Christmas Light Ornament Craft for Kids Using pom poms


2. Use your black oil-based marker to draw a curvy line all around your ornament. Then use your colored oil-based markers to add colorful lights around the black line. Let it dry.


Christmas Light Ornament Craft for Kids Using pom poms


3. Hang it on your tree to enjoy. We left ours as is, but you could also tie a festive Christmas bow around the top!